How to Set Up Your First Home Recording Studio Without Overspending
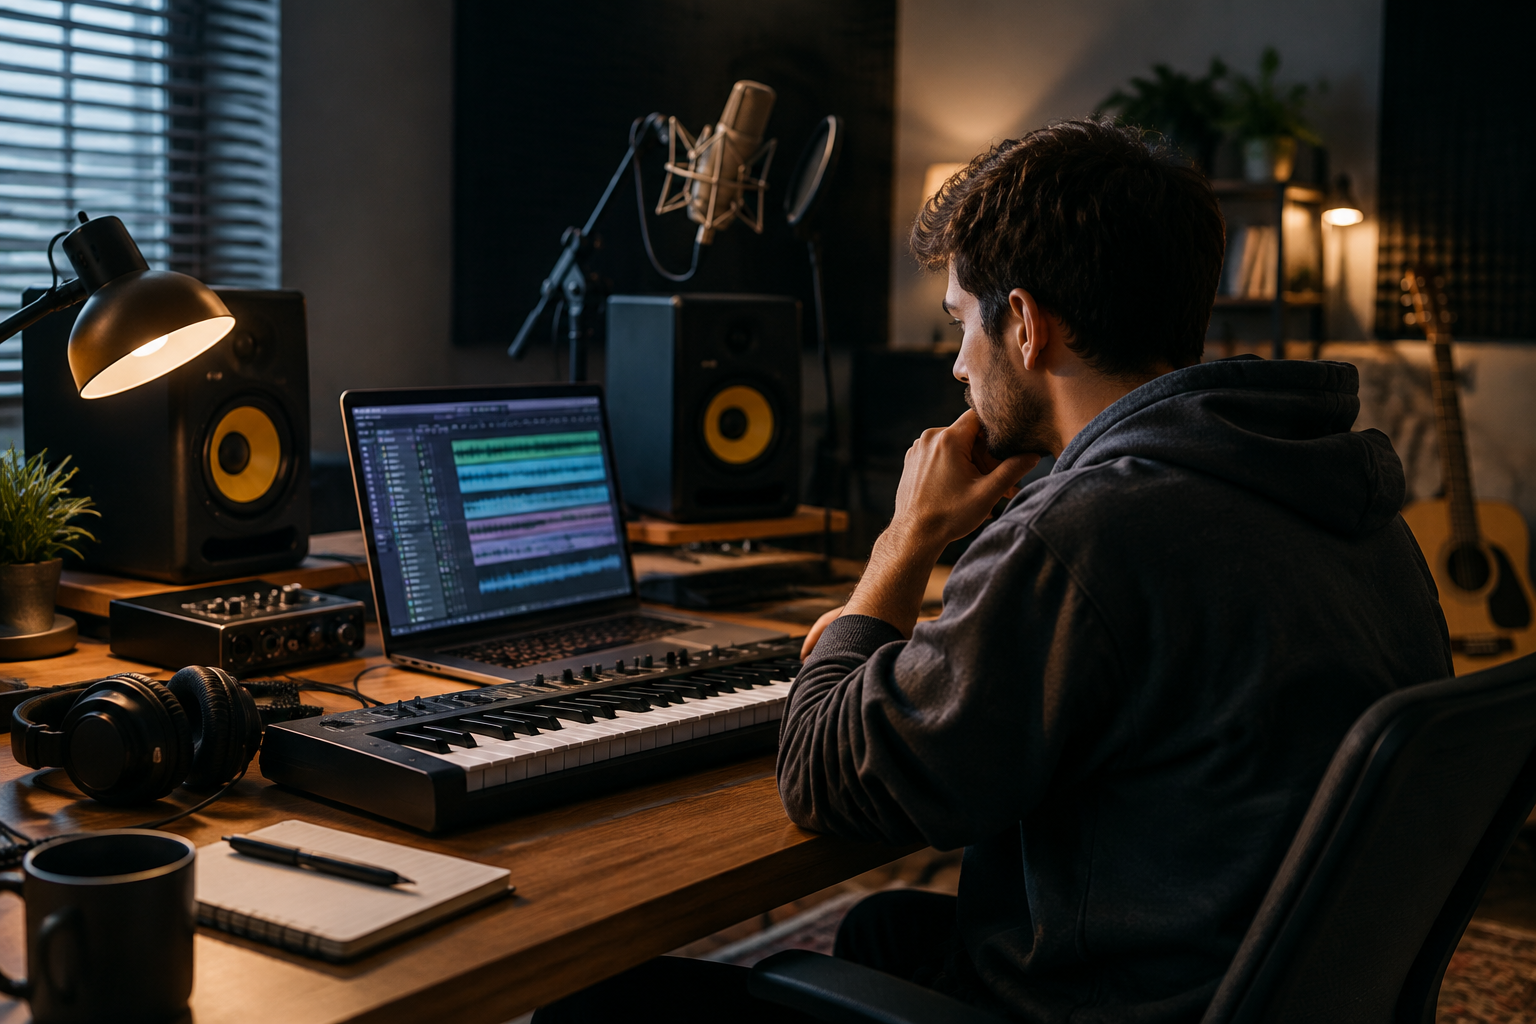
Most people building a first home studio spend the money in the wrong order. They buy the interface first because it’s the thing with the shiny specs, then grab whatever mic fits the leftover budget, then wonder why their vocals sound thin and boxy six months later. That’s backwards, and it’s the single most expensive mistake you can make at this stage.
Here’s the honest hierarchy, the gear that actually matters, and where you can genuinely save money versus where cheaping out will cost you twice.
Spend your money on the microphone first
A $500 mic into a $100 interface will usually beat a $100 mic into a $500 interface. That’s not a marketing line, it’s just signal flow: your mic is the first thing in the chain, and it shapes the raw tone before anything else touches it. If the source is wrong, no plugin, no mixing engineer, and no amount of EQ is going to fix it later.
So allocate the largest single chunk of your budget to the mic. This feels counterintuitive when you’re staring at interface spec sheets, but the mic is also the one purchase you’ll likely only make once. Get it right and it lasts decades. Get it wrong and you’ll be replacing it within a year.
Don’t shortlist six of the same thing
This is where most people go wrong. Pulling up five condenser mics from five brands doesn’t give you five options, it gives you one option with five logos. You want contrast in character, not just brand variety. A working shortlist looks something like:
- One condenser (clean and detailed)
- One dynamic (rugged and warm)
- One ribbon (dark, vintage)
- One bright-sounding mic (more air up top)
- One dark-sounding mic (boosted low mids)
That spread tells you how your specific voice reacts to different mic characters. Some voices bloom on a bright condenser. Others sound harsh and sibilant on the same mic and sit far better on a darker dynamic. You can’t predict which camp you’re in from a spec sheet.
Test before you commit
You don’t need to buy five mics to audition five mics. Rent them, or book an hour at a local studio and request specific models in advance. Ten to fifteen minutes per mic recording the same vocal phrase is enough to hear the difference. If you’re testing at home, make sure your room is quiet and your gain staging is sane before you start.
Record something realistic, not a random hum. A lead chorus vocal, a couple of doubles, and a harmony line gives you about 20 seconds of material per mic. That’s enough to hear how each one handles layering and dynamics once they’re stacked. Set your input gain so peaks stay well under 0dBFS (peaking around -6dB is a safe target) and keep a pop filter roughly 30cm from the capsule.
Condenser or dynamic for a home setup?
Mostly depends on your room. In a treated space, a condenser gives you detail and nuance. In an untreated bedroom or spare room, a dynamic mic’s tighter pattern rejects more of the reflections bouncing off your walls. More often than not, less room in the recording is worth more than more detail. If you haven’t sorted acoustic treatment, the reflections, background noise, and room resonance will mess with your vocal tone regardless of which mic you plug in.
The interface: buy for your inputs, not the spec sheet
Once the mic is sorted, the interface is a solved problem at surprisingly low cost. The goal is clean preamps, stable drivers, and enough inputs for how you actually work. If you’re a solo vocalist or guitarist, that’s one mic input and one instrument input. Two-in/two-out covers most first studios.
A couple of budget options that hold up:
- Focusrite Scarlett Solo 4th Gen (around $130): one preamp, one Hi-Z instrument input, USB-C, 24-bit/192kHz, bus-powered. The 4th gen preamps push up to 69dB of gain, which genuinely matters if you’re running a low-output dynamic mic. Air mode adds a subtle high-frequency lift inspired by Focusrite’s ISA preamps. Best for solo vocalists and guitarists.
- Audient EVO 4 (around $130): uses Audient’s preamp tech from their higher-end consoles, and the Smartgain feature sets your input levels automatically. If you’re still learning gain staging, that’s a real convenience rather than a gimmick. Sound quality punches well above the price.
Both fit a first studio without starving the mic budget, which is the whole point.
What to actually check on the spec sheet
Bit depth and sample rate matter, but the threshold is lower than people think. 24-bit gives you a wide dynamic range and low noise floor. For sample rate, 24-bit/96kHz is plenty for professional results. 192kHz is fine if your budget and CPU can carry it, but it won’t be the thing that makes your recordings sound better.
More important is the practical stuff. Do you have combo jacks (XLR plus 1/4-inch) so the interface grows with you? Phantom power for a condenser? Are the connections USB-C, Thunderbolt, or USB 3.0, and do they play nicely with your machine and drivers? Latency and driver stability will annoy you far more day to day than a marginally higher sample rate.
Where the rest of the budget goes (and what to skip)
You’ll need a DAW, and if you’re on a tight budget, your interface likely comes bundled with one or a lite version that’s more than capable to start. That’s the cheapest way onto real software without a separate outlay. From there, your priorities should be, in order:
- A decent pair of headphones or monitoring setup
- Basic acoustic treatment for your recording space
- A microphone stand, pop filter, and cables
- Plugins
Notice plugins come last, and they should. New producers love buying compressors and EQs before they’ve got a clean signal or a treated room to record in. A great channel strip on a badly recorded vocal is just a polished version of a bad take. Your stock DAW plugins will cover you for a long time.
The order that saves you money
Mic first, interface second, room third, software plugins dead last. Test your microphone candidates before buying anything, choose contrast over brand loyalty, and treat your space before you assume you need better gear. None of this is glamorous, and a lot of it is slow. But it’s the difference between a first studio that actually produces usable recordings and one that keeps getting upgraded in a search for a problem that was never gear in the first place.
The gear matters less than where you point the money. Point it at the microphone.