Mastering at Home: A Realistic Loudness Guide for Streaming
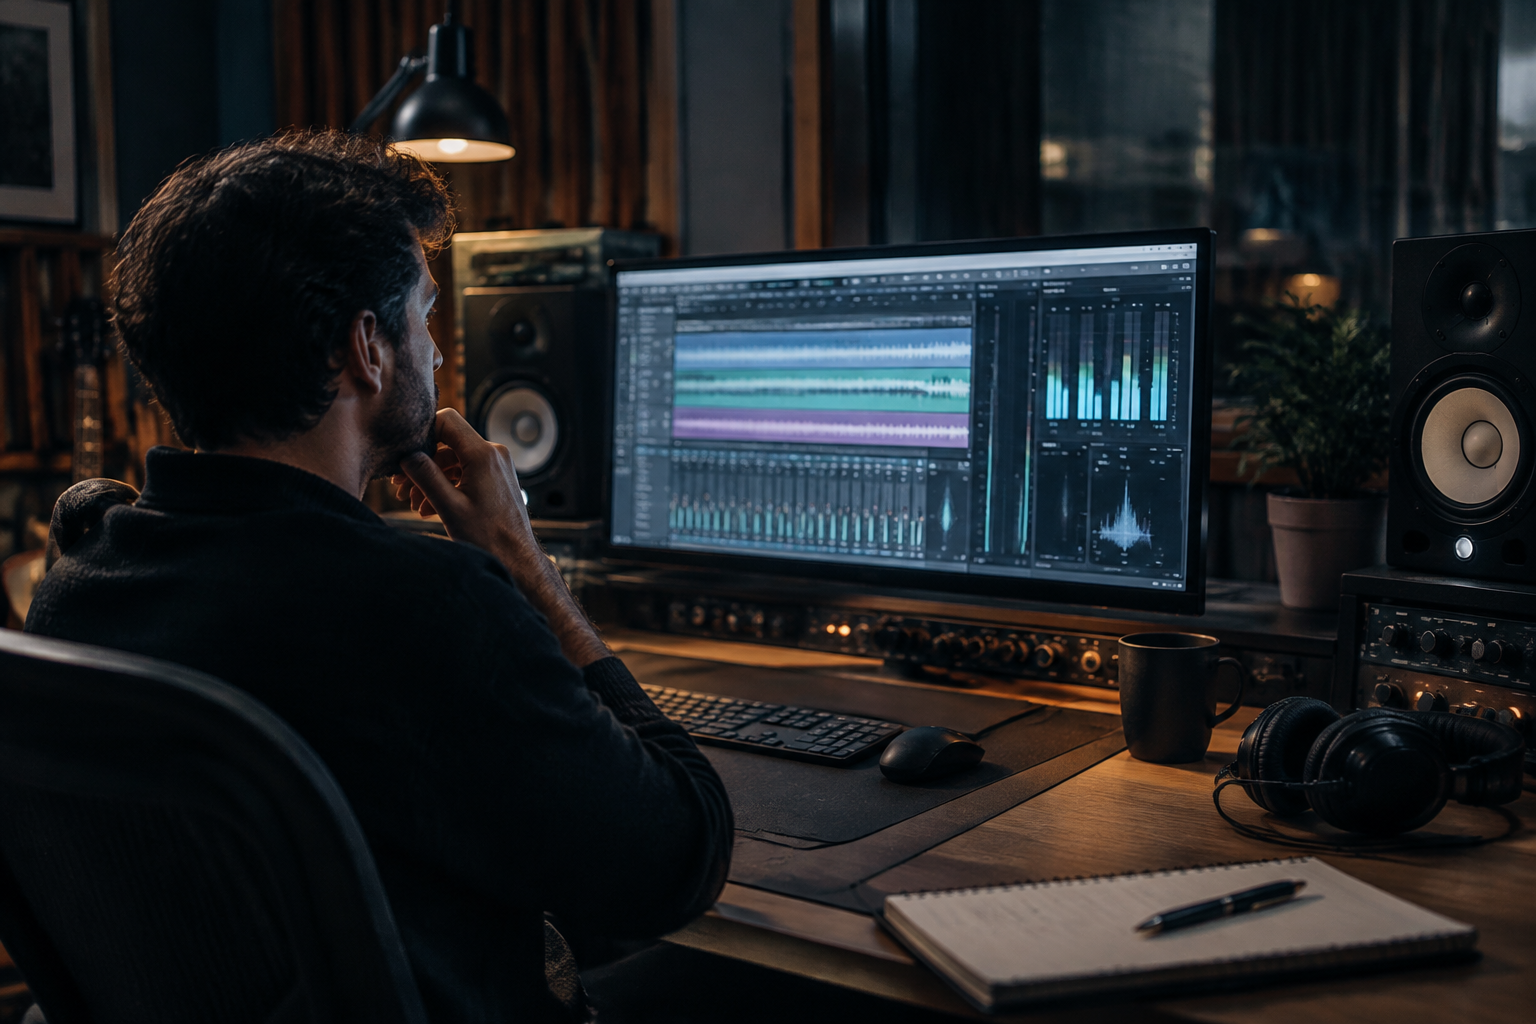
Nobody masters at -8 LUFS anymore, except the people still chasing a 2013 EDM festival. Streaming platforms normalize your track on playback. Spotify, YouTube, Tidal, TikTok: they all sit around -14 LUFS integrated (Wikipedia lists -14 LUFS for every one of those platforms). So if your master hits -8 LUFS, Spotify just turns it down. You didn’t win loudness. You lost dynamics for nothing.
That’s the whole game right now. Loud enough to sit with commercial releases, dynamic enough not to sound like a brick. Here’s how I actually approach it.
What streaming actually does to your master
Loudness normalization means the platform measures your integrated LUFS and applies gain to bring it to its target. Deliver louder than target, they turn you down. Deliver quieter, they turn you up and your peaks might clip depending on how the platform handles true peaks.
Wikipedia’s loudness standards table is a good reality check. Broadcast and film work at very different targets: Netflix and Prime Video sit between -27 and -24 LUFS, EBU R128 broadcast is -23 LUFS, podcasts land between -19 and -16 LUFS. Music streaming is the outlier at -14 LUFS. If you’re mixing music, ignore the broadcast numbers entirely. They’re for TV and film deliverables.
So what’s the practical target? Somewhere in the -14 to -10 LUFS integrated range works for most genres. Pop and hip-hop can push toward -9 or -10 LUFS and still sound fine because the genre expects density. Acoustic, jazz, ambient: sit closer to -14 or even below. The platform doesn’t care. Your listener’s ear does.
True peak limiting is not optional
Inter-sample peaks. That’s the reason. Your DAW shows a peak of -0.3 dBFS, but the reconstruction filter in a consumer DAC can push that higher, and you get distortion on playback that never showed up in your session. True peak limiting reads the reconstructed waveform and catches those peaks before they become clicks.
Set your true peak ceiling at -1 dBTP. That’s the safe number for lossy codecs like Opus and AAC, which can shift peaks during encoding. -0.1 dBTP is asking for trouble on Spotify’s Ogg Vorbis stream. -1 dBTP costs you almost nothing in perceived loudness and saves you from a distributor flagging your master for clipping.
Your limiter, and how hard you’re allowed to hit it
Start with 3 to 4 dB of gain reduction on the limiter, then listen to what happens to your transients. That’s the standard starting point, and it holds up. If you need 8 dB of reduction to hit your target, your mix is too quiet. Fix the mix, not the limiter.
The loudness wars are over for a reason. Mastering engineers and streaming platforms both pushed back, and the result is that volume for its own sake doesn’t win anything anymore. You want a master that sounds loud without being crushed.
Two limiters, each doing 1.5 to 2 dB, often sounds cleaner than one limiter doing 4 dB. The reasoning is straightforward: each limiter works less hard, so each one introduces fewer artifacts. You don’t need fancy plugins for this. Two instances of the same limiter with mild settings will do.
Attack and release matter more than people admit. Slower attack lets transients through and keeps the punch. Faster release can pump on sustained material. Set release by genre: fast on EDM kicks, slower on acoustic guitar and vocals.
The clipper before the limiter trick
This one comes from forum engineers who’ve been doing it for years and it genuinely works. Put a clipper on the master bus, shave 2 to 4 dB off the peaks of your transients, then feed the limiter. The limiter has less work to do, so it distorts less.
The tradeoff is real. A clipper isn’t transparent, and if you shave too much you turn drum hits into mush. But if you A/B it against the same chain without the clipper and level-match properly, you’ll hear the difference: cleaner transients, less pumping, same loudness.
Where it shines: rock, metal, EDM, anything with sharp transients. Where to skip it: intimate acoustic recordings where you want every nuance of the pick attack audible.
Nothing about this rescues a bad mix
Mastering is finishing, not fixing. If your mix has mud around 300 Hz, harshness at 4 kHz, or a vocal that sits two feet behind the drums, the limiter won’t save it. It’ll make all of it louder and easier to hear, which is the opposite of what you want.
Same goes for the master bus saturation trick. A little bit of harmonic content can make a track sound finished, more analog, more present. Too much and you’ve added distortion competing with your actual instruments. Stereo imaging on the master is the same story: subtle width can help, but pushing it hard causes phase issues that make your track collapse in mono. Check mono before you deliver anything.
References, or you’re guessing
Pick three reference tracks. Same genre, released in the last two years, ideally near the top of the charts so you’re calibrating against the current sound, not 2010. Load them in your session, level-match to your master, and A/B constantly. This is not optional. Your room lies to you. Your monitors color the sound. Your ears fatigue after 40 minutes. A reference track anchors every decision.
One reference isn’t enough. Two or three lets you spot which qualities are common to the genre versus which ones are specific to one production. Highest-charting, newest, closest to what you want your master to be. Take the time to pick right. Realizing halfway through that your reference is wrong means starting the tone shaping over.
A chain that actually works
For most streaming-bound projects, here’s the order I land on. Subtractive EQ first to clean low-end rumble below 25 Hz and any resonance you can hear. Then a gentle tonal EQ or a broad shelf if the track needs weight or air. Then bus compression at 1 to 2 dB of reduction with a slow attack, just to glue the elements together. Then saturation, light, for harmonic richness. Then the clipper, 2 to 3 dB of transient shaving. Then the limiter with true peak enabled, ceiling at -1 dBTP, hitting 3 to 4 dB of gain reduction.
After that, measure. Any decent loudness meter will show integrated LUFS and true peak. Aim for the target I mentioned earlier based on genre, and don’t obsess about hitting an exact number. A 0.5 LUFS difference between two masters is not what’s keeping you off playlists.
What good sounds like
If your master sounds loud next to a reference at matched levels, if the transients still hit, if mono doesn’t collapse, and if the meter reads somewhere sane instead of -7 LUFS with the limiter panting, you’re done. Resist the urge to render one more version at +0.5 dB louder. It won’t help. It’ll just make the next A/B harder.
Get the mix right, set the limiter conservatively, check true peaks, reference constantly. That’s the entire job. Everything else is preference.